
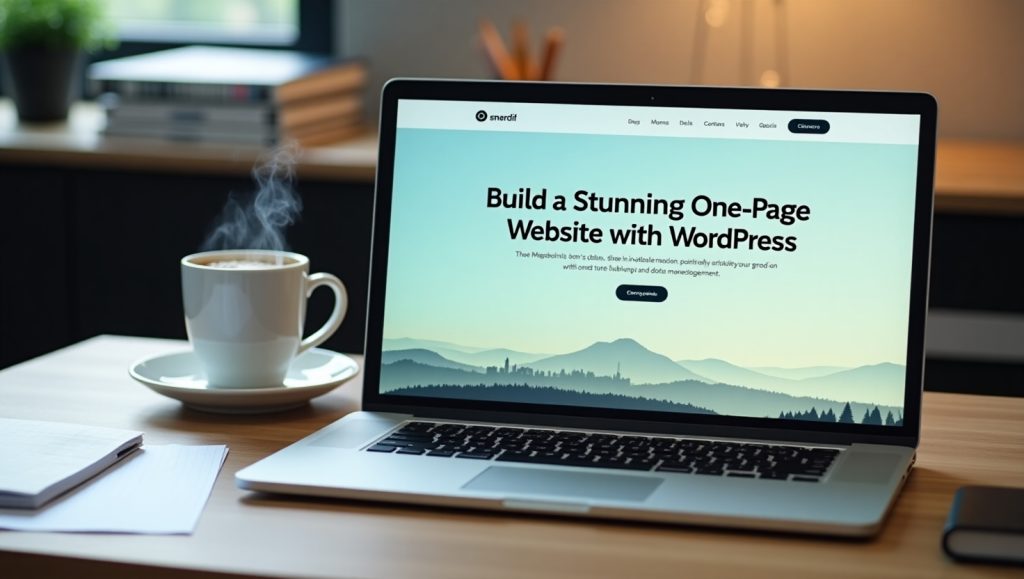
Building a one-page website with WordPress can be an exciting project, whether you’re a beginner or an experienced user. One-page websites are a great way to showcase a product, service, portfolio, or personal brand in a clean, user-friendly design. Here’s a step-by-step guide to help you get started:
Step 1: Choose the Right Hosting and Domain
The first step in building your WordPress website is selecting a reliable hosting provider. Hosting providers like Bluehost, SiteGround, or HostGator offer one-click WordPress installations. After selecting a host, choose and register your domain name (your website’s address, like example.com).
Step 2: Install WordPress
Once you have your hosting and domain set up, log into your hosting account and find the option to install WordPress. Most hosting services offer a one-click WordPress installation, making it easy to get started.
Step 3: Select a One-Page WordPress Theme
A WordPress theme controls the design and layout of your website. Since you’re building a one-page site, look for a one-page WordPress theme. Popular themes for this include Astra, OceanWP, or specialized themes like Hestia. These themes offer one-page layouts that you can easily customize.
Step 4: Customize Your Theme
Once your theme is installed, navigate to Appearance > Customize to start personalizing your site. You can adjust colors, fonts, and the layout of various sections like your header, footer, and content areas. Most one-page themes include built-in sections for about, services, testimonials, and contact forms.
Step 5: Create Your Pages and Sections
For a one-page website, everything is typically divided into sections that visitors scroll through. Add sections like:
- Hero Section: A large, eye-catching introduction with a call-to-action button.
- About Section: A brief description of you or your business.
- Services Section: Details of what you offer.
- Testimonials Section: Positive feedback from clients or customers.
- Contact Section: A contact form or your contact details.
You can create these sections by editing the page or using Elementor (a drag-and-drop page builder plugin) to create and organize them.
Step 6: Add Content and Media
Add relevant images, videos, and text to each section. Make sure the content is clear, concise, and visually appealing. This is especially important for one-page websites since everything needs to be well-organized for easy navigation.
Step 7: Optimize for Mobile
One-page websites need to be fully responsive, meaning they should look great on both desktop and mobile devices. WordPress themes are typically mobile-friendly, but always double-check how your site appears on smaller screens.
Step 8: Install Plugins for Added Functionality
WordPress plugins can enhance your one-page site with additional features. Some useful plugins for a one-page website include:
- Elementor: For advanced design customization.
- Yoast SEO: To optimize your site for search engines.
- WPForms: To create contact forms.
Step 9: Publish Your Site
Once you’re satisfied with the design and content, it’s time to go live. Hit the Publish button, and your one-page website will be visible to the world!
Step 10: Promote Your Website
Now that your site is live, share it on social media, include it in your email signature, and optimize it for search engines using SEO best practices.
Building a one-page website with WordPress doesn’t have to be complicated. By following these simple steps, you can create a sleek, professional website to showcase your work, products, or services. Happy building!
This blog provides an easy-to-follow, comprehensive guide for anyone wanting to create a one-page website using WordPress. Let me know if you’d like any adjustments!
4o mini